At VeeamON my colleague Niels and I presented Project Martini. A kind of Manager of Manager for Veeam Backup for Office 365. Today I'm writing a small post for those who want to go ahead and install the solution


You can now run the cli. For example martini-cli tenant list. Since there is no tenant yet, you should should see a lot of # signs.
If you browse to the IP of the server, you should now also be able to login with admin and the password. In my screenshots, I used port 999 to map to an internal server so you can just ignore that and use the regular port 80 if you have direct access to your machine


The first thing you need is a Linux server. Could be virtual, could be physical. We strongly recommend an Ubuntu version as this is what we used in AWS and the screenshots of this blog post are from an on premise Ubuntu installation (18.04 LTS).
Once you have installed Ubuntu, you can download the martini-cli. I'll make another small blog post on how to compile it from source but for this post, you can just download the binary. So let's make sure we have the right tools to unzip and get the binary first
sudo apt-get update
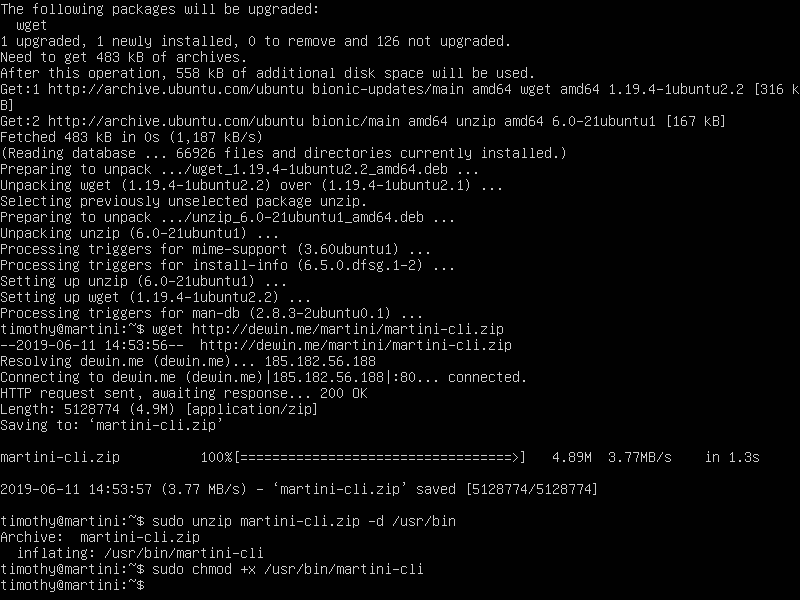
sudo apt-get install unzip wget

Now you can go ahead and install the binary
wget https://dewin.me/martini/martini-cli.zip
sudo unzip martini-cli.zip -d /usr/bin
sudo chmod +x /usr/bin/martini-cli
Once you have the binary in place, you are ready to start the installation. If you are running Ubuntu, the setup should detect this and propose you to install the prerequirements
sudo martini-cli setup

On the question if you want to install prereq, answer "y". It should download all the prerequirements. Then it will prompt you to install terraform and martini-pfwd. Please answer "y" to continue. Once this is finished, it will prompt you to create the mysql database. It is automatically installed but you might want to secure it a little bit more.

So start the mysql prompt and create the database. The cli gives you a very simple example to go ahead and create the database. Please make sure you remember the password.
mysql -u root -p

Finally rerun the setup wizard but this time, don't install the prereqs (as this already is done). This will download the latest martini-www release from github and will ask you for the database connection parameters
sudo martini-cli setup

Once you went through the whole process, martini is installed. Make sure to remember the admin password you gave in during the installation. You need it to authenticate the cli or the webgui. You also might need to chown the config file if you run the process with sudo. In my case, my user is timothy but that might be different on your system. Once everything is done, you can test the connection with martini-cli
sudo chown timothy:timothy .martiniconfig
martini-cli --server http://localhost/api connect

If you browse to the IP of the server, you should now also be able to login with admin and the password. In my screenshots, I used port 999 to map to an internal server so you can just ignore that and use the regular port 80 if you have direct access to your machine


No comments:
Post a Comment
Note: Only a member of this blog may post a comment.